ORIGINAL PLAN:
Peel off the vinyl top, bondo the rust in the sail panel, sand it, prime it and shoot it.
PLAN MODIFICATION:
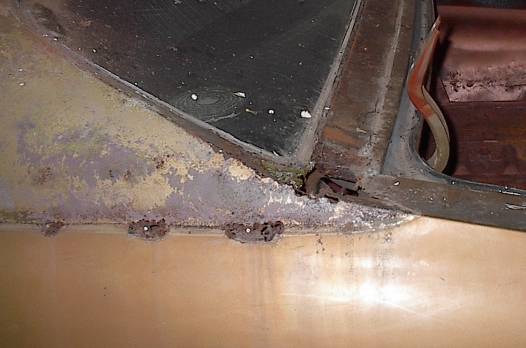
No easy bondo fix here. You can see the trunk hinge through that big rust hole
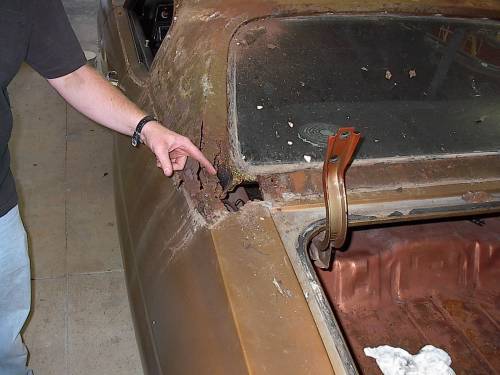
That thumb spends most of its time up Sprag's butt.
A word to the wise. If you plan on doing these kind of repairs yourself make sure you possess the proper mechanical swooftness and intestinal fortitude to see it through. Once you put that torch to metal there is no turning back!
Oh yea, there's gas in the tank.
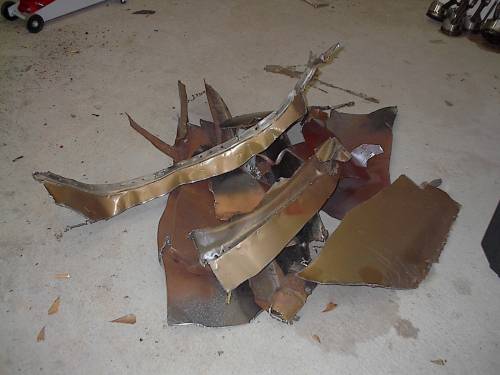
This is what the old quarter panel should look like if removed properly.
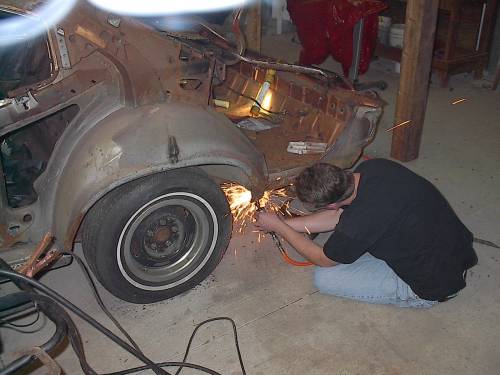
Removing a quarter panel involves drilling out about a zillion spot welds and breaking them loose with a air chisel. It could be done with a hammer and chisel but Sprag and Stall do not recommend it. You need air tools to do this job.

This is what a thoroughly screwed up Chevelle looks like.
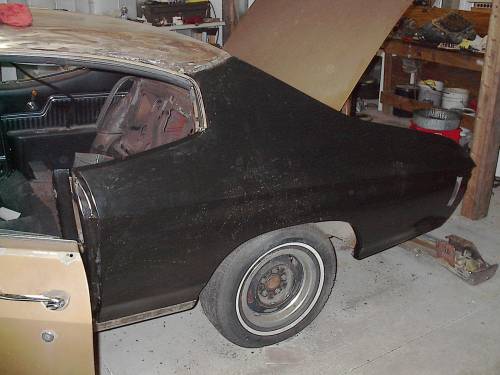
Here's the new panel in place.
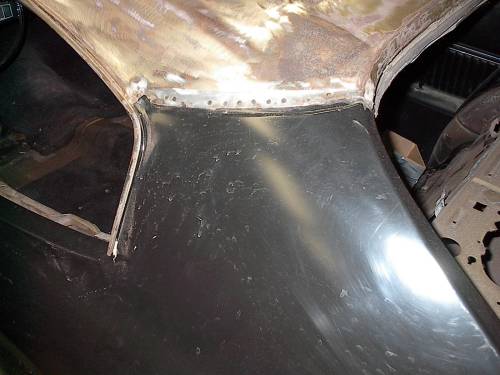
Noting left but to lay a bead in there and slather it with bondo.
The panels used in this project are from Goodmark Industries. The fit and finish were excellent and they went on with little fuss. Two thumbs up from Sprag and Stall! A Hobart 135 MIG welder was employed for the welding with .023 wire and C25 gas. A neat trick is to pull the gun cup out about 1/4 in., clip the wire off flush with the cup and use it like a spot welder. Make sure to turn the power and feed-speed down low, butt the gun against the panel and hold the trigger for a few seconds. It takes a little practice but it works pretty good and is quicker than rosette welds. Sprag and Stall recommend using cleco type fasteners for holding the panels in alignment for welding.
FEB. 2002 UPDATE!